Please note: This blog post contains affiliate links.
In this vlog post featuring an Adobe Photoshop tutorial, I am going to show you step by step how to make a circle image in Photoshop. Using Photoshop is a cost-effective way of creating your own professional graphic imagery which you can use across your social media channels, blog, website and more!
If you don’t currently have Adobe Photoshop CC, you can purchase and download Photoshop straight away here!
Having a professional profile image really helps to portray your professional image, consequently, this Photoshop tutorial vlog will help you to create just that!
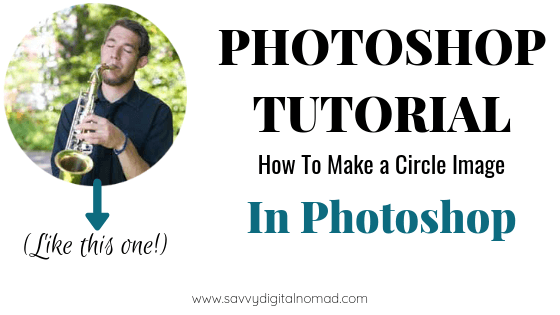
Photoshop Tutorial: How To Make a Circle Image In Photoshop
Click here to subscribe to my YouTube Channel.
“Hello and welcome to today’s video…
In this Photoshop tutorial, I am going to show you how to create a professional circle image using photoshop, which is perfect to add to your blogs and social media accounts.”
Photoshop Tutorial Steps
- Firstly open up Adobe Photoshop CC.
- Find the image that you would like to create into a circle image, using file > open (and locate your image from the correct folder).
- If your image displays gridlines which can be distracting, you can remove these by pressing; “Ctrl and H” on your keyboard. In addition, you can also zoom into your image by holding down “Ctrl and +”
- On the right-hand side of your screen where you can see your layers. Your image will be displayed there as a layer. If it says background on your image layer, or there is a padlock present on your image layer, simply double click on the layer, which will unlock the layer and allow you to carry out further editing.
- On the left-hand-side menu panel, select the elliptical marquee tool.
- Whilst holding down the Shift key, click over your image and drag the circle to your desired size.
- Reposition your circle over the image to your own requirements.
- Whilst your circle is still dotted, from the top menu click on select and click inverse. This will highlight all the background detail that is not required for your circle image. Once you have your background details highlighted, press the Backspace or the Delete key from your keyboard to remove this.
- Finally, to crop your image to size you need to select your rectangular marquee tool from the left-hand side menu.
- Position the rectangle around your image to your required dimensions. Once you are happy with the size, select image and crop from the top menu. This will crop your image and you are ready to save your new circle image!
- The best way to save your image is by saving for web and devices. You can do this by holding down, ” Shift Ctrl Alt and S” on your keyboard. From the save screen make sure that PNG is selected and then save into your desired folder.
Ta da! A perfect circle image made using Adobe Photoshop CC…
If you don’t currently have Photoshop, you can purchase the software yearly membership directly from Adobe.
Did You Enjoy This Photoshop Tutorial?
I hope that you enjoyed this Photoshop tutorial. If you would like to see further vlogs and tutorial based videos, please…
Click here to subscribe to my YouTube Channel.
Have you checked out my free online resources?
There are details for lots of useful website and companies, great for graphic design, managing an online business etc. Click here to check out online resources!
If you missed the link in the article, you can click here to purchase a yearly Photoshop software membership from Amazon and download it straight away!
Finally, please let me know in the comments below whether this video has helped you, and do you struggle with anything else in Photoshop? Maybe I can help you, let me know! 🙂
Until next time!
Emily x